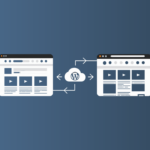
When running a website, you may want to update your site’s design or features from time to time, and making these changes on a live site can be risky cause any mistakes can interrupt the visitors. Fortunately, that’s what a WordPress staging site is great for: making a perfect copy of your site to test changes safely before pushing the changes live. This is how you can set it up and keep everything working well.
Methods to Create a Staging Site
1. Using a WordPress Staging Plugin
Staging plugins are very easy to use for non-technical end-users, such as WP Staging or Duplicator.
- Installing and Activating a Plugin:
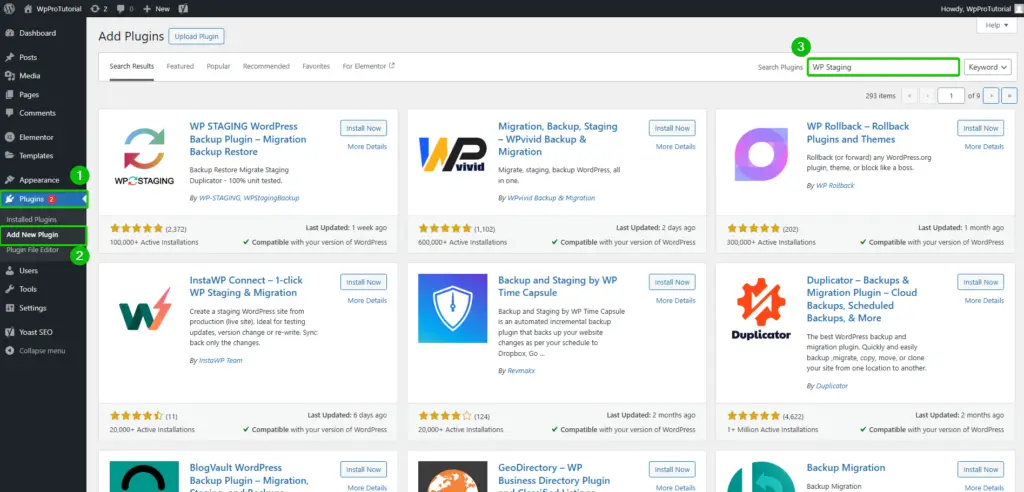
- Log in to your WordPress dashboard.
- Navigate to Plugins > Add New.
- Search for WP Staging or Duplicator plugin, install it, and activate it
- Creating a Staging Site:
- You can create your staging site by going to your dashboard and then accessing the settings via the plugin.
- Follow the steps and copy from live to staging.
- Advantages of Staging Plugin:
- Plugins like BlogVault make things easier with one-click options that push your changes to a live site.
- Before a deployment, plugins in staging automatically back up your site and can be rolled back if an error occurs.
- WP Staging or Duplicator Plugins allow your live and staging sites to automatically synchronize with one another. This allows for consistency throughout the sites.
2. Use Your Web Hosting’s Staging Feature
The staging feature is included in many WordPress hosting companies’ packages. For example, SiteGround and Bluehost provide users with built-in tools for staging.
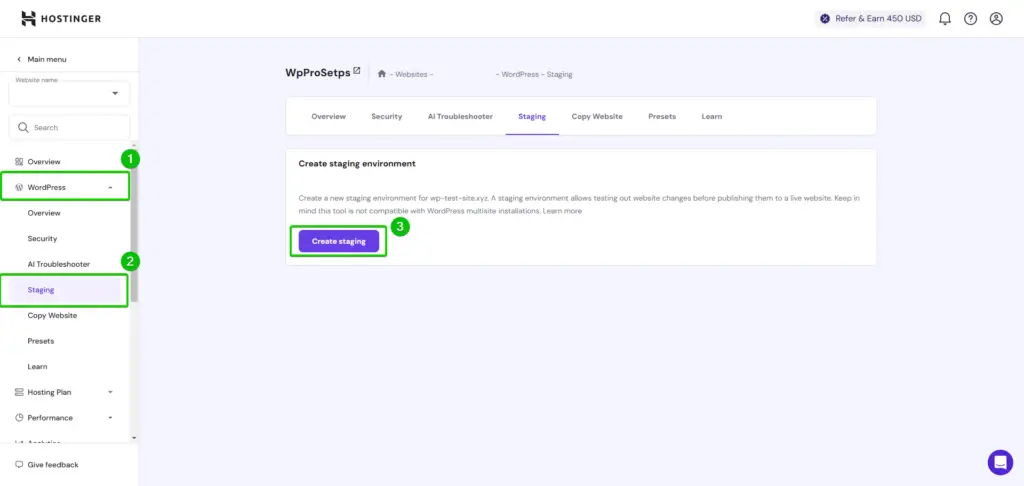
- How to Access a Staging System of Your Host:
- Log into your hosting account.
- Visit the Website Management or My Sites section.
- Look for the Staging option.
- Select your website and create a staging site.
- Usually, this is just minutes’ work.
- Once this is created, visit your staging site and log in using your WordPress details.
- Advantages:
- Easy-to-use interfaces make the setup simple.
- The cloning process is fast and effective.
- Changes in the staging area do not affect the live site, making it a safe process.
- Extra Tip: Some hosting providers even let you connect directly with Git, which allows developers to deploy changes from repos easily.
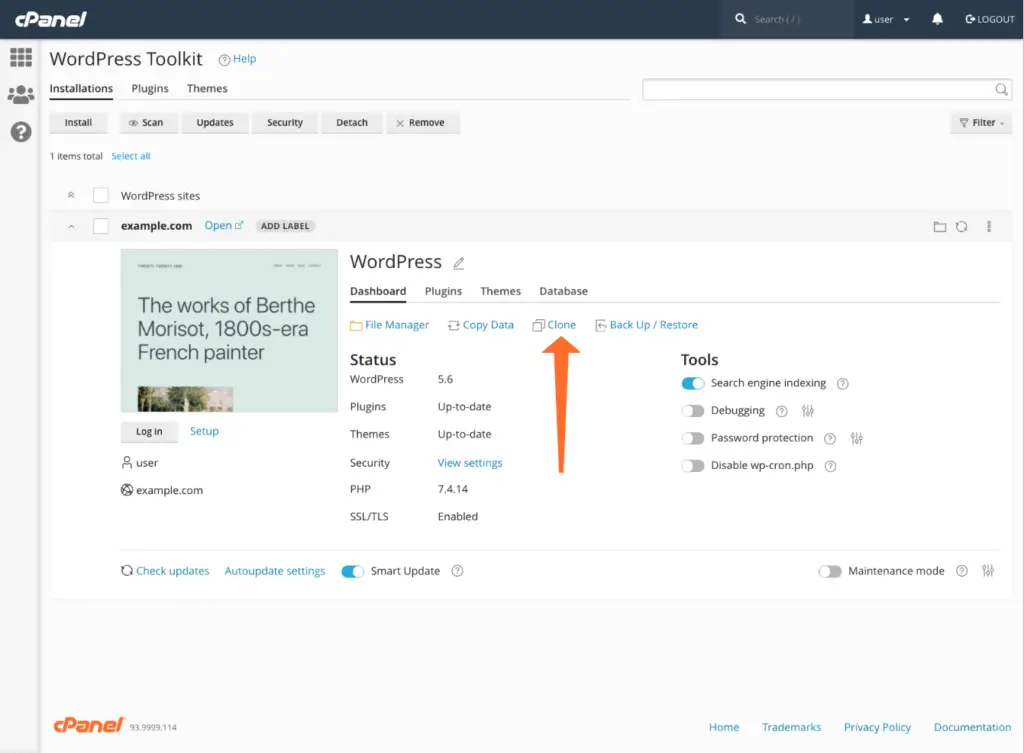
3. Manual Setup with cPanel
If you’re up for a hands-on approach, follow these steps:
- Step 1: Create a Subdomain
- Log into your hosting account and navigate to cPanel.
- Go to Domains > Subdomains and create a subdomain.
- Step 2: Copy WordPress Files
- Open File Manager and navigate to public_html.
- Copy all files except the staging folder to the new subdomain folder.
- Step 3: Clone the Database
- Log in to cPanel phpMyAdmin.
- Live database select option, Operations Tab, copy it with a new name for the database.
- Step 4: Set the Staging Database
- Edit the wp-config.php file within the staging folder.
- Update Database name, User and Password
- Step 5: Update URLs
- Change the site URL and home fields in the wp_options table with your staging URL using phpMyAdmin.
- Step 6: Finishing Touches
- Login to the WordPress admin of your staging site.
- Update permalinks and make sure everything is working as it should.
Best Practices to Avoid Data Loss
1. Regular Backups
Back up the whole site through plugins like UpdraftPlus or your hosting provider’s backup tools before changing anything.
2. Separate Databases
Create a separate database for your staging site to avoid accidental overwrites or conflicts.
3. Access Control
Secure your staging site through password protection or IP restrictions to ensure that unauthorized persons cannot access your staging site.
4. Clear Cache Before Deployment
Always clear the cache of your website before deployment to ensure the users see the latest updates.
5. Deploy Carefully
Use your plugin or hosting service’s deployment tools to push changes smoothly without data loss.
Setting Up a Staging Site Manually via cPanel
Common Mistakes to Avoid
1. No Backup Made
Always, prior to building or deploying a site from your staging site, backup your live site.
2. Same Database Used
Using the same database for both your live and staging sites could result in corruption and data loss.
3. Not Paying Attention to Security
Not securing your staging site may expose sensitive data to people who should not have access.
4. Inconsistent Environments
Make sure that your staging environment is similar to your live site to avoid discrepancies.
5. Overlooking Testing
Test all changes on the staging site before deploying them.
WordPress staging site is a very important tool for testing changes without compromising your live site. With the plugins, hosting features, or manual setups, and following best practices such as regular backups and strict access control, you can feel confident in the implementation of updates and enhancements.